Setting up MQTT for your node
What is MQTT?
MQTT stands for Message Queuing Telemetry Transport. It is a protocol that has been integrated into Meshtastic to allow nodes to relay messages over the internet. This allows nodes to bridge where physically they couldn't have.

MQTT Settings
Enabling MQTT will allow you to appear on Liam Cottle MeshMap, Global MeshMap and Chicagoland(MeshView).
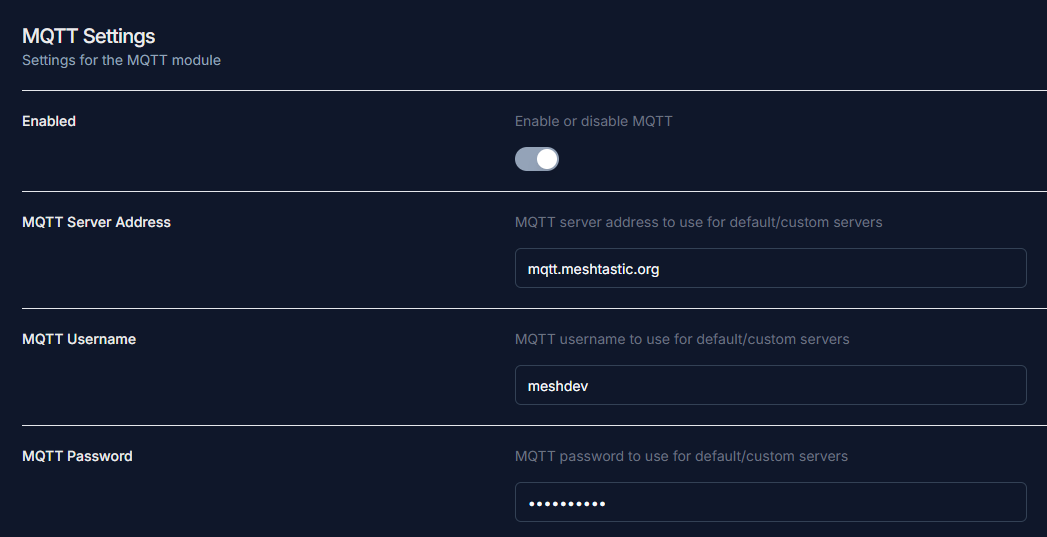
- Go to your MQTT settings and select enable.
- Use
mqtt.chimesh.orgfor MQTT server address - Use
meshdevfor MQTT username -
Use
large4catsfor MQTT password
-
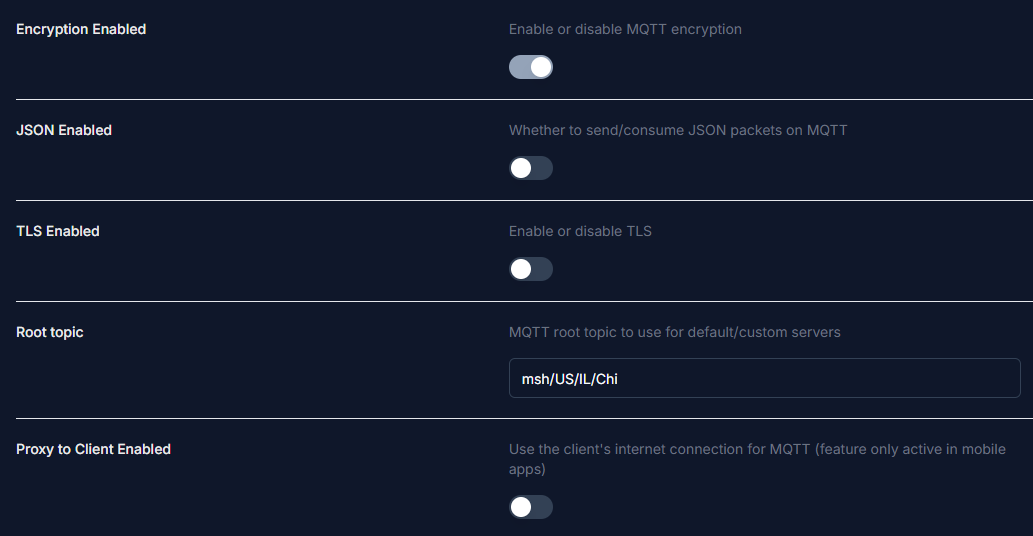
Enable MQTT encryption
- Make sure JSON and TLS are disabled
-
Set your root topic to
msh/US/IL/ChiNote
Root topic input is case sensitive, also make sure not to leave a space before or after the root topic input.
-
If you are using Wi-Fi, set Proxy to Client off, if you are using a phone, turn on Proxy to Client
-
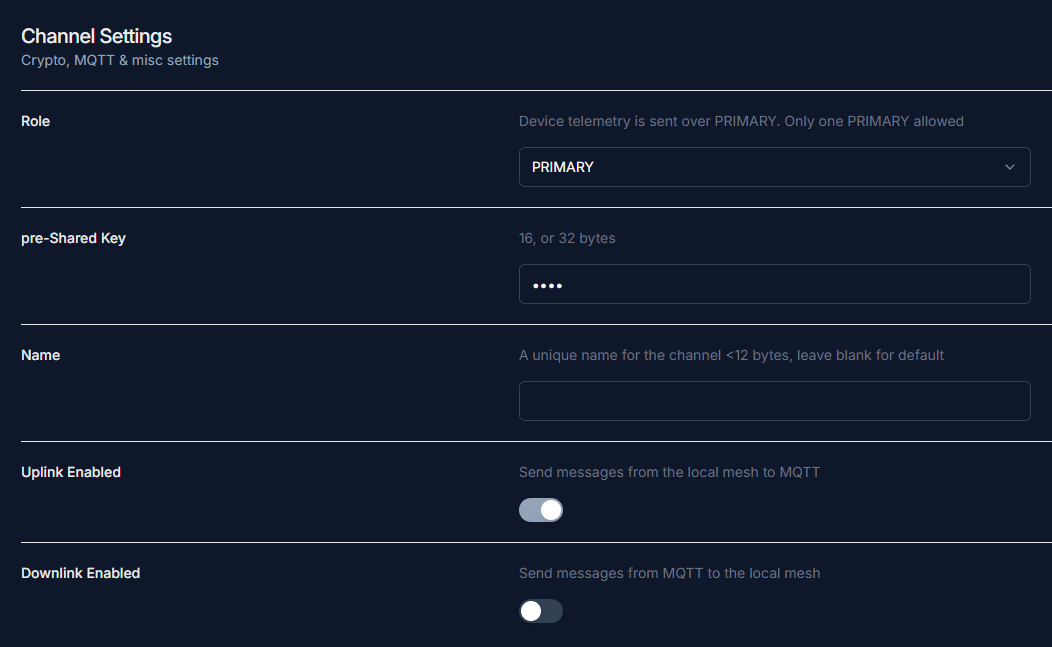
Go to channel settings and then primary channel
- Set the pre-Shared key to
AQ== - Leave the name blank
- Enable MQTT uplink and disable downlink
- This is set to send messages recieved to MQTT but prevents your node from getting messages from MQTT. Read more about this in the optional settings.
-
Enable Map Reporting, set Map Publish Interval to 30 (seconds), and set your desired Position Precision
Optional Settings
- If you are using a mobile device, Make sure to enable Connect to mesh
- The uplink and downlink settings can be changed to your preference if you want to contact others through MQTT. These instructions were created for the standard set by us
- We recommend having at least uplink enabled on the primary channel and device position enabled so you get on Liam Cottle MeshMap, Global MeshMap and Chicagoland(MeshView)